Our website uses Cookies to personalise content, provide social media features and to analyse our traffic whilst delivering the best possible experience to our users. If you'd like to find out more, please read our Cookies Policy.      
VGS Vehicle Glazing - Tinted Privacy Glass Toughened Windscreen
enquiries@vehicleglazingspecialists.com 07772 018940
Home
About
Get in Touch

BASKET


Sub-Total: £27.00

VAT: £29.00

Total: £27.00


Panoramic Glass Sides Fitting Guide

Step 1

1

Grab your trim removal tool and start unclipping the trim, at rear there are two clips on either side, both of which will need to be removed. On TD5 models this step only needs to be completed when accessing the rear glass! TD5 users skip to step 5. Tip: Proceed with caution! The clips will snap if you are not careful.

Step 2

2

Begin with removing the black cover on the seat bolt, then using a 17mm socket, remove the seat bolt. We now need to remove both of the fir tree clips, the first clip can be found just above the seat bolt as shown in the photo; remove these with the trim removal tool. There is no need to remove the inside side trims on TD5 models as the window frame is pop riveted on the outside of the vehicle.

Step 3

3

Remove the handles at the top of the trim four tapping screws under the covers. You will now need to remove the fir tree fitting at the bottom of the panel. 110 version also has fur tree on inside of door jam In Puma models you will find your fir tree fittings have rubber stops, you will also need to remove the rear seat belt bolt located on the floor; this can be completed using a 17mm socket. Pass the end through trim to release the trim.

Step 4

4

Place the removed trim and all of the fittings somewhere safe.

Step 5

5

We now need to remove the rear qtr glasses , to start remove the rear window lace; when completed remove the rubber and the glass. You will need to be careful when removing the glass because heavy hands can cause shattering, push the glass inwards and wear gloves.

Step 6

6

Defender Pumas: You will need to remove plastic retainers before you can start to remove the window frame. There may be overspill glue on this retainer, so run your Stanley knife around the edge Defender TD5: You will need to remove the rubber insert trim on the outside to reveal pop rivets, drill out and remove the pop rivets to remove the frame.

Step 7

7

Tape up the gutter edge and around the window with three layers of tape to protect the paint work whilst working.

Step 8

8

Using gloves and goggles cut the seal between the body and frame, we recommend a Stanley knife with a long solid blade. Tip: Do not use snap off blades to cut out the frame. Tip: Do not try and cut in one cut, there are many layers. Tip: Always cut away from yourself. Tip: Use some soapy water in a spray bottle.this helps blade when cutting

Step 9

9

After cutting the frame all round completely, you can remove it. This may take a little bit of wiggling. Early puma landrovers take a lot more work to cut out

Step 10

10

Trim off the old sealer with your knife or razor tool, with the sealer gone remove the masking tape and degrease the body panels with the wipes provided, this is also a good time to prime any scratches.

Step 11

10

Once body panels are clean remove any loose paint Fit the edge trim supplied onto the metal edge around the window of the Land Rover.

Step 12

11

Clean the glass with glass spray and dry. Now we use the provided ALCOHOL wipes to wipe down the black band on the glass. and dry again When the glass is clean take the primer and cotton buds provided and create a 2" band round the edge all of the way around glass Tip we suggest you clean and prime all glass at this point as saves time later

Step 13

12

Prime the body all the way around with a 2" band. It is important that primer lines on the body and glass match so the glue adheres correctly to the glass and panel, please remember glue will only stick to good paint work Allow to dry for 10 minutes for primer to dry

Step 14

13

With v shape nozzel from glue kit apply nice even glue line around panel with no gaps in glue Place your glass against your Land Rover, ensure the glass is level along the bottom and rear edge.of metal work press down along all of the edges until your glass is as flat as you can get it. glass should not over hang rear of panel Place tape on each side to hold your glass in place if needed

Step 15

14

It's the same process to fit the back quarter but where the hinge is on the rear panel DO NOT PRIME CORNER As this is tight area for glue if your fitting edge trim to rear qtrs pull trim away on this corner so it just follows curve Trim isn't required for this section, but it is provided in the kit. if you wish to use Tip: It helps to remove the bolts and move hinge out of way when fitting glassmake sure to refit them when done!

Step 16

15

make sure glue is tight to corner as shown hinge side only once rear glass is fitted there should be a 10 to 12mm gap on corners IMPORTANT GLASS MUST NOT TOUCH ON CORNERS OR WILL EXPLODE WHEN VEHICLE MOVING

Step 17

16

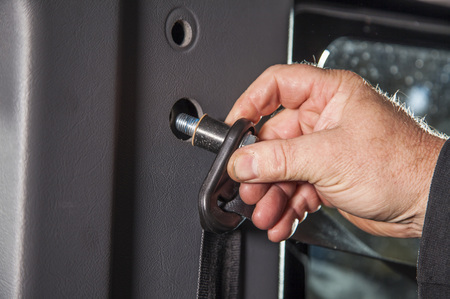
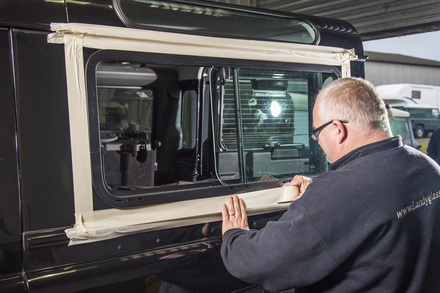
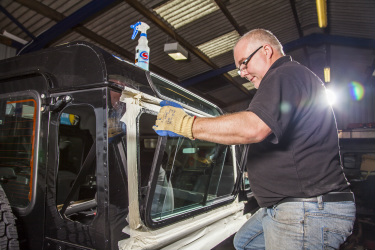
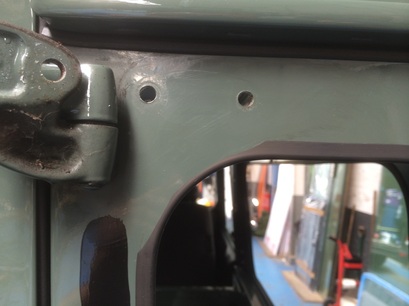
Tape up the down edges only with tape front edge rear corner and rear door edge with masking tape and small piece of tape across top & bottom of your joints DO NOT FILL TOP OR BOTTOM OF PANEL WITH GLUE ONLY ENDS 
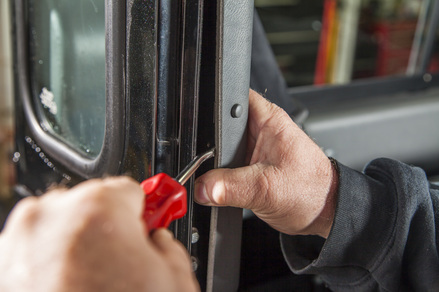
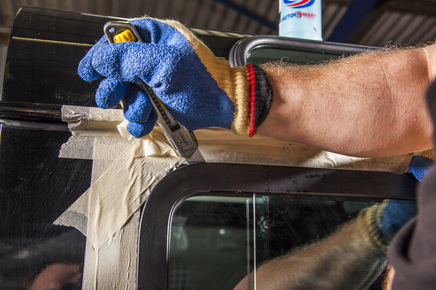
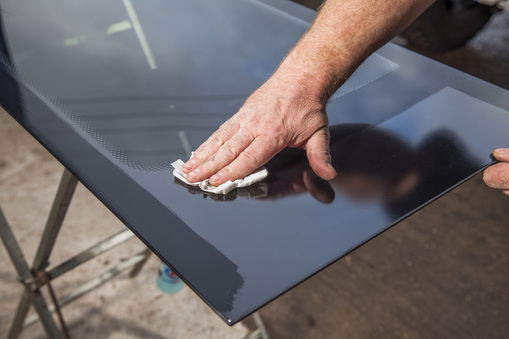
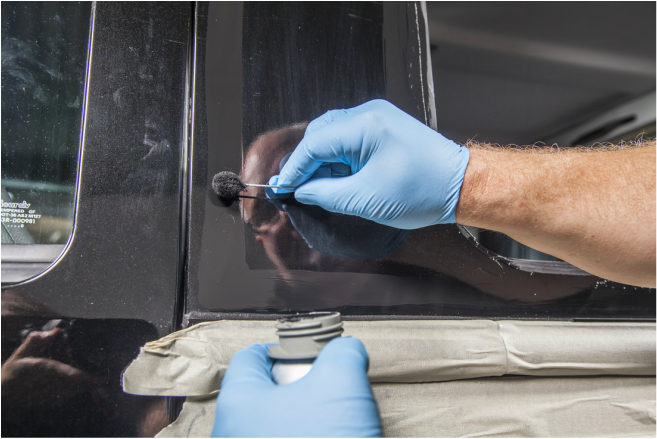
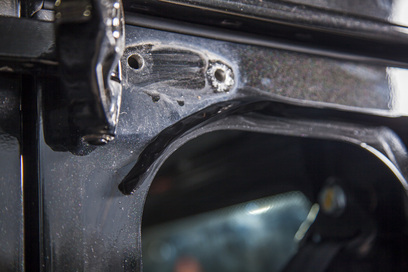
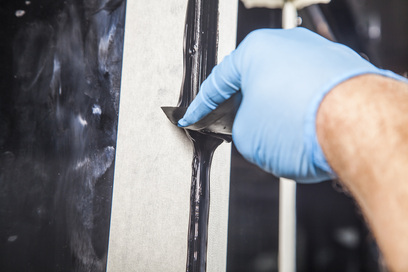
Now with filler glue from kit fill gaps with plenty of the fill then with a plastic card smooth the glue into the hole across the glass edges, try to keep this as flat as possible. Remove excess with wipes and repeat until you have a clean line finish to all the side edges, then remove your tape and allow dry 
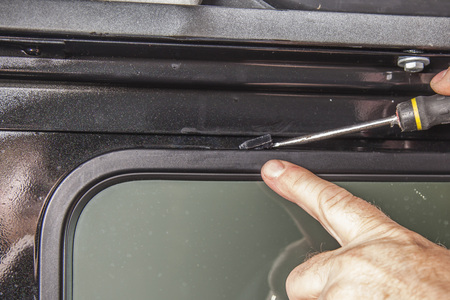
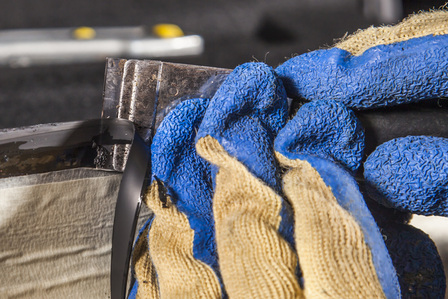
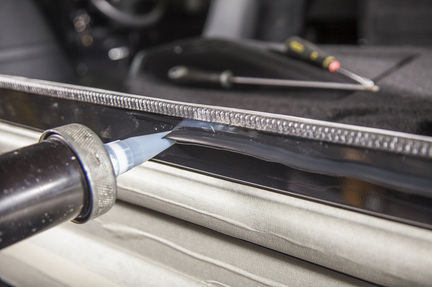
we finish edge with single razer blade to give clean edge 
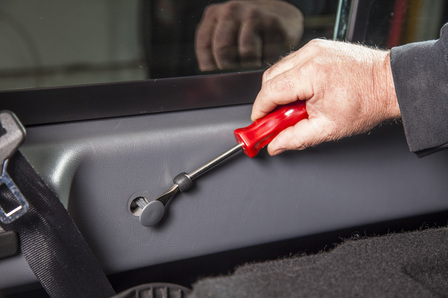
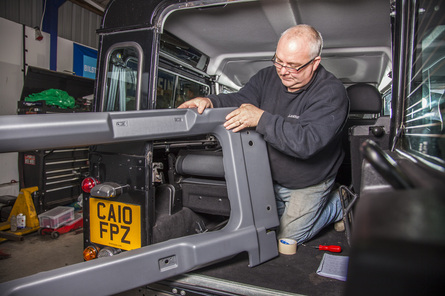
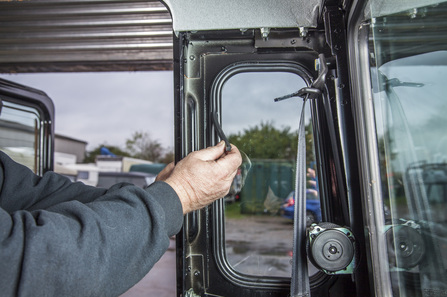
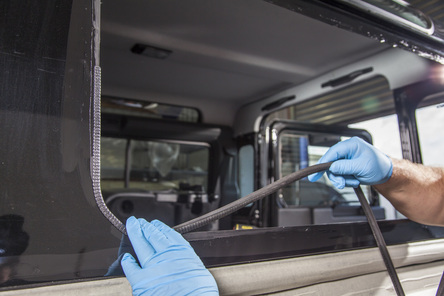
Tip: Do not fill the top and bottom joints of glass this is so excess water can escape.you can now Refit the trim inside, replacing any broken clips. You can wash off the next day, or use glass cleaner to clean the glass. Tip: please Contact us if you need any help

GOT A QUESTION?

Please note we are temporarily closed from the 26th of July for apprioximately 3 weeks. Any questions please call on 07772 018940.

Phone Number

07772 018940

Email Address

enquiries@vehicleglazingspecialists.com

Social Media

@VehicleGlazingSpecialists

Become an Affiliate

Click here to Register/Login

Address

186 Hendre Rd
Capel Hendre
Ammanford
SA18 3LF